
Assigning an Assignment
This article explains how educators can assign assignments to their students on Summations.
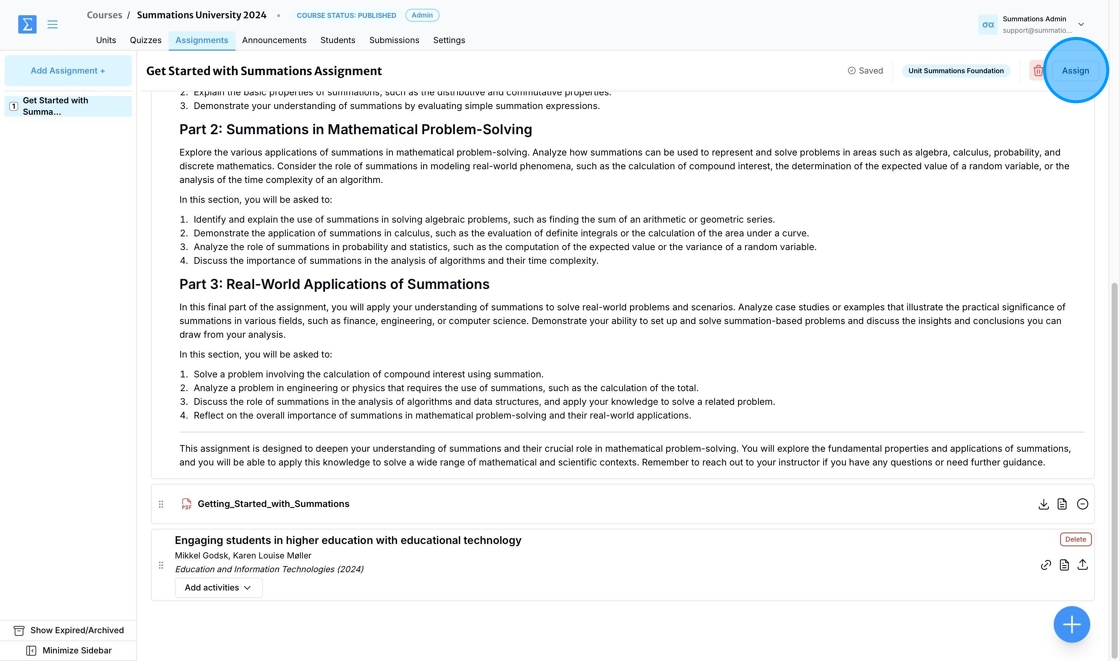
Once you have finished building your assignment and it is ready for students to access, click 'Assign' in the top-right corner of the assignment.
For more details on building your assignment, please refer to this article "Building Assignments".
To assign your assignment, follow these steps:
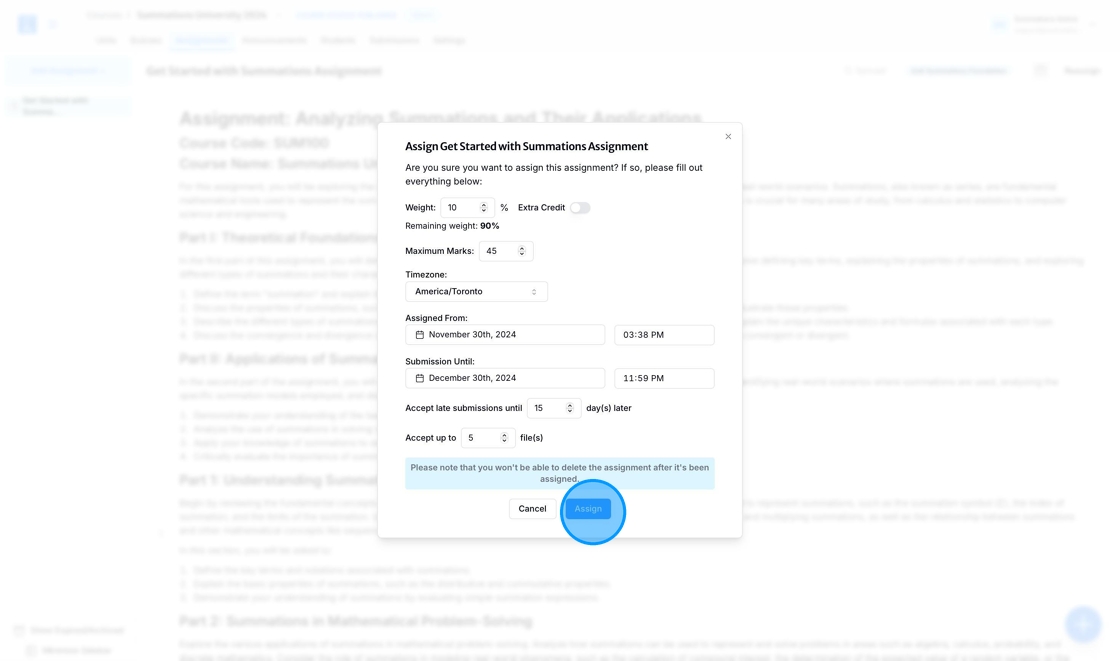
Weight: Specify the weight of the assignment in relation to the overall course grade. This determines how much the assignment contributes to the final grade and ensures alignment with your course grading policy. Adjust the weight percentage as needed to reflect the assignment's importance relative to other assignments or assessments in the course.
Extra credit: Indicate whether the assignment should be assigned as extra credit. If selected, the points earned from the assignment will contribute to the student's overall grade without impacting the total possible points for the course. This option allows you to offer additional learning opportunities and incentives for students to engage with the material.
Maximum Marks: Set the total marks the assignment is worth. This value will help define the grading scale and indicate the maximum score students can achieve for this assignment.
Timezone: The timezone will default to your current timezone based on your computer settings. If you and your students are in different timezones and you want the assignment to align with your students' timezone, click the timezone field and select an alternative from the list.
Assigned From: To assign the assignment immediately, leave the 'Assigned From' field unchanged, as it defaults to the current time. If you want to schedule the assignment for a later time, click on the date and time field, select an alternative date from the calendar, and adjust the time accordingly.
Submission Until: Set the deadline for when the assignment will need to be submitted by selecting the appropriate date and time.
Accept Late Submissions: Indicate whether late submissions will be accepted and specify how many days after the deadline students can still submit the assignment. For example, if you choose to accept late submissions up to 3 days after the deadline, students can submit within that timeframe with or without penalties, as determined by your grading policy.
Accept File Submissions: Specify the maximum number of files students can upload for the assignment. For example, if you set the limit to 3 files, students will be able to upload up to three separate files for submission.
After completing these settings, click 'Assign' to finalize and make the assignment available to your students.
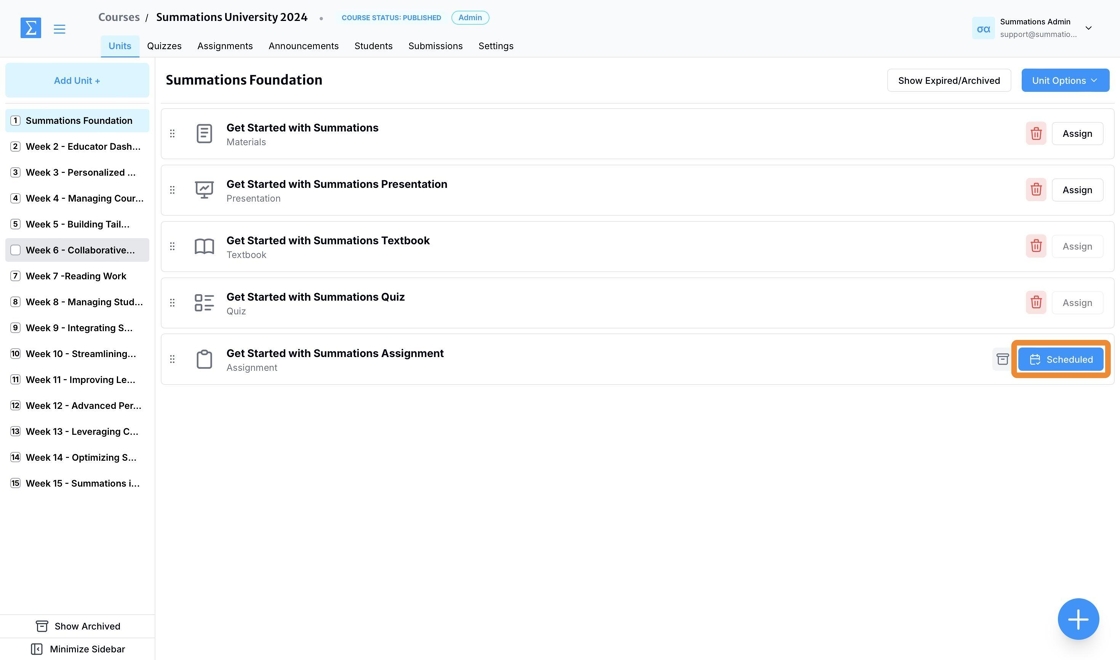
Once the assignment is assigned and becomes visible to your students, the 'Assign' button in the top-right corner of the assignment will change to 'Assigned.'

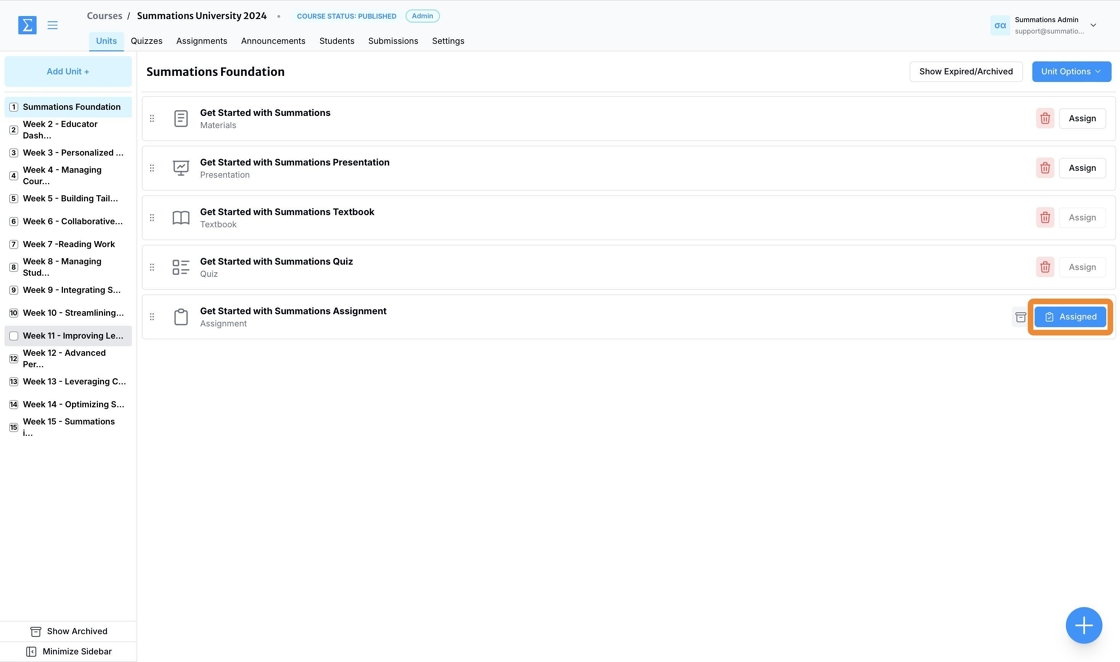
The assignment section within the unit will also update from 'Assign' to 'Assigned' to reflect the change.
To schedule the assignment for a later time, click the date and time field, select a different date from the calendar, and adjust the time as needed.
Once all fields have been updated, click 'Assign' to finalize the process.
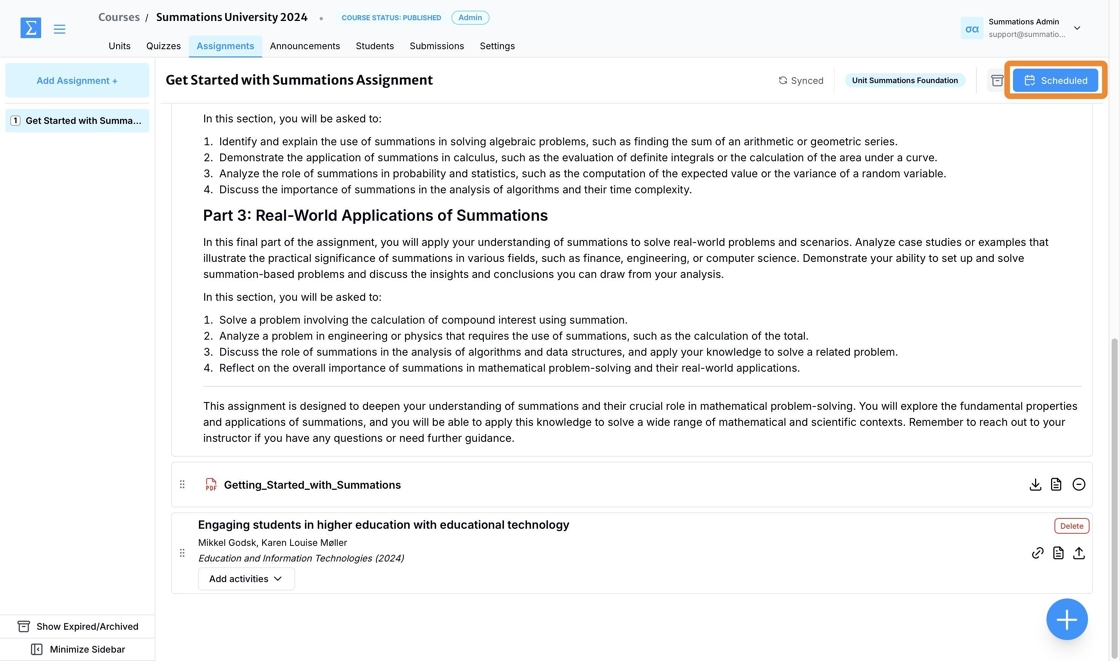
Once the assignment is scheduled for assignment, the 'Assign' button in the top-right corner of the assignment will change to 'Scheduled.' When the 'Assigned From' time arrives, the button will automatically update to 'Assigned.'
The assignment section within the unit will also update from 'Assign' to 'Scheduled' to reflect the change. When the 'Assigned From' time arrives, the button will automatically update to 'Assigned.'
Updating Assignment Details
As an instructor, you can update specific details of an assignment, such as the deadline, grade value, or assigned availability. These updates are reflected in real-time for students, ensuring they have access to the most accurate and up-to-date information. To make changes, navigate to the 'Assigned' or 'Scheduled' button in the top-right corner, select 'Edit,' adjust the necessary details, and save your updates.
This flexibility allows you to adapt the assignment to evolving course requirements or accommodate individual student needs while maintaining the integrity of the assessment. For significant edits to the assignment content or structure, refer to the guide below on how to unassign and reassign the assignment to avoid any potential confusion.
Unassigning an Assignment
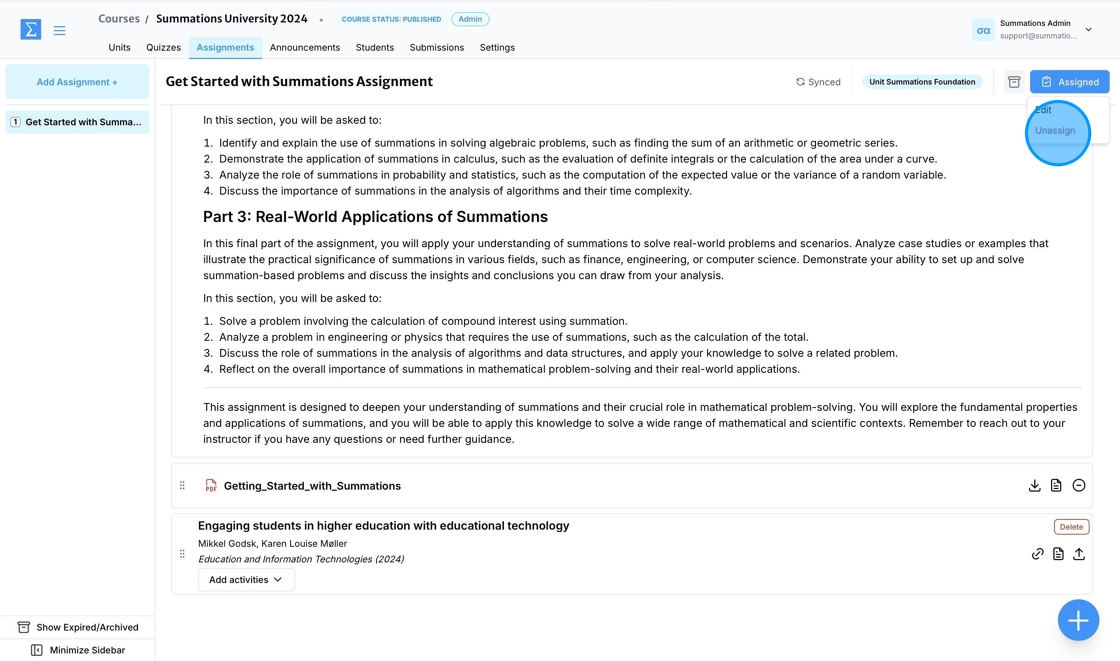
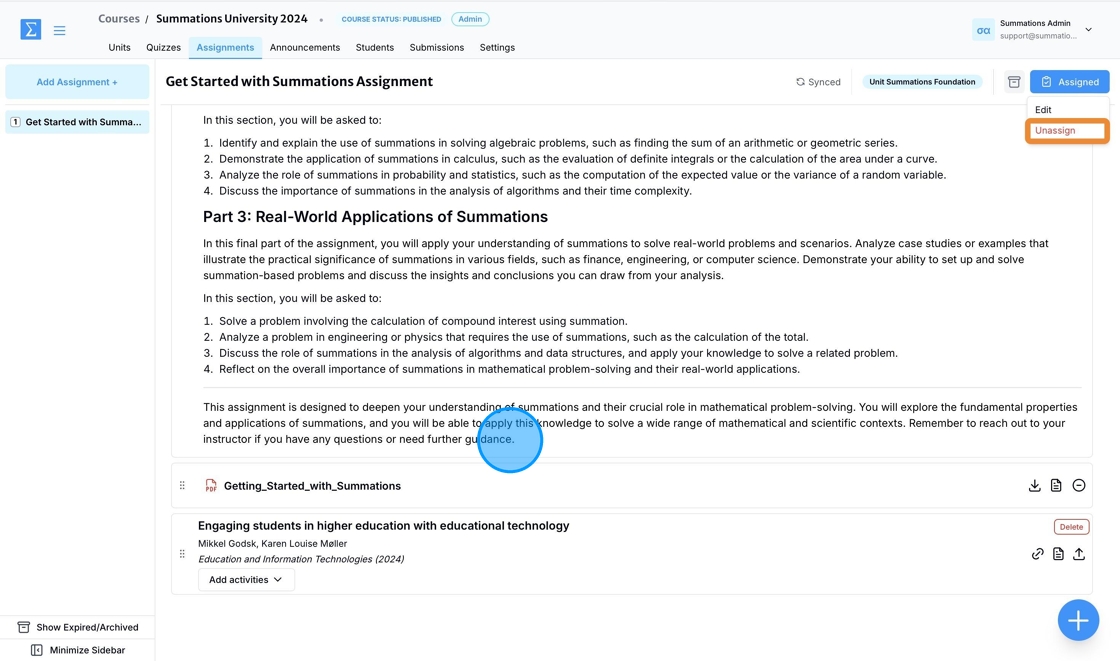
To unassign an assignment, click the 'Assigned' or 'Scheduled' button in the top-right corner and select 'Unassign.' This action will revoke access to the assignment and make it invisible to your students.
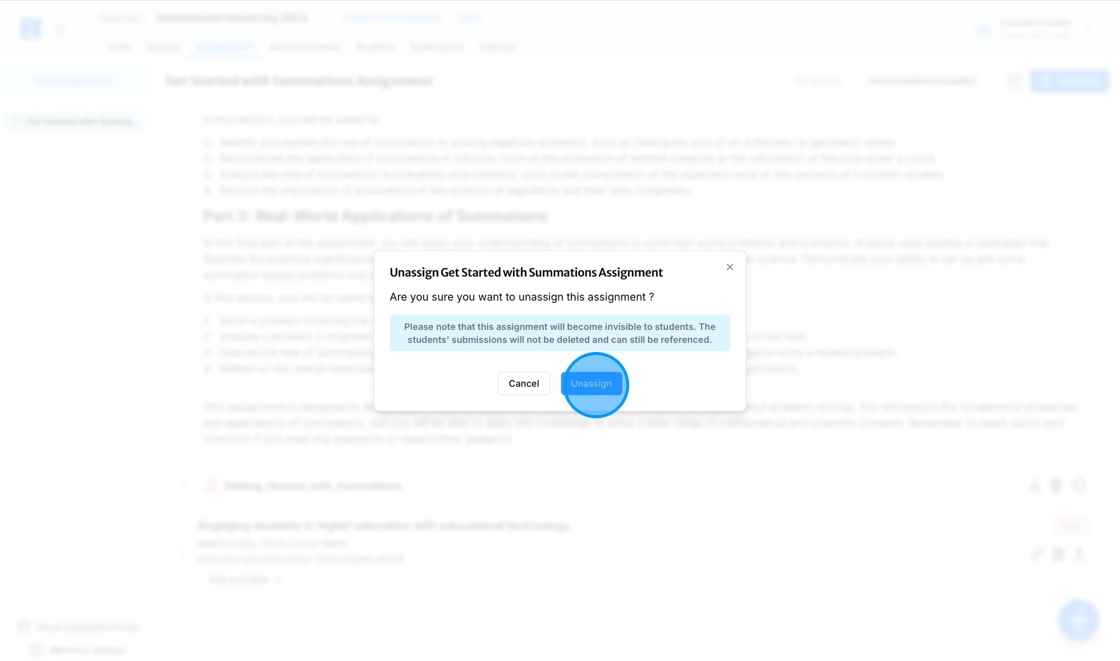
A confirmation pop-up will appear to prevent accidental unassigning of the quiz. Select 'Unassign' if you are certain you want to proceed.
Editing an Assigned Assignment
Once an assignment is assigned or scheduled, you can edit it without unassigning it by double-clicking on any component. Any changes made to the assignment while it is assigned will instantly reflect on the student side, as long as the assignment page is saved or synced as shown below.
To avoid unintended changes that could lead to confusion among students, we recommend that instructors first unassign the assignment, make the necessary edits, and then reassign it once the changes are finalized. For more information, please refer to the guidance above.
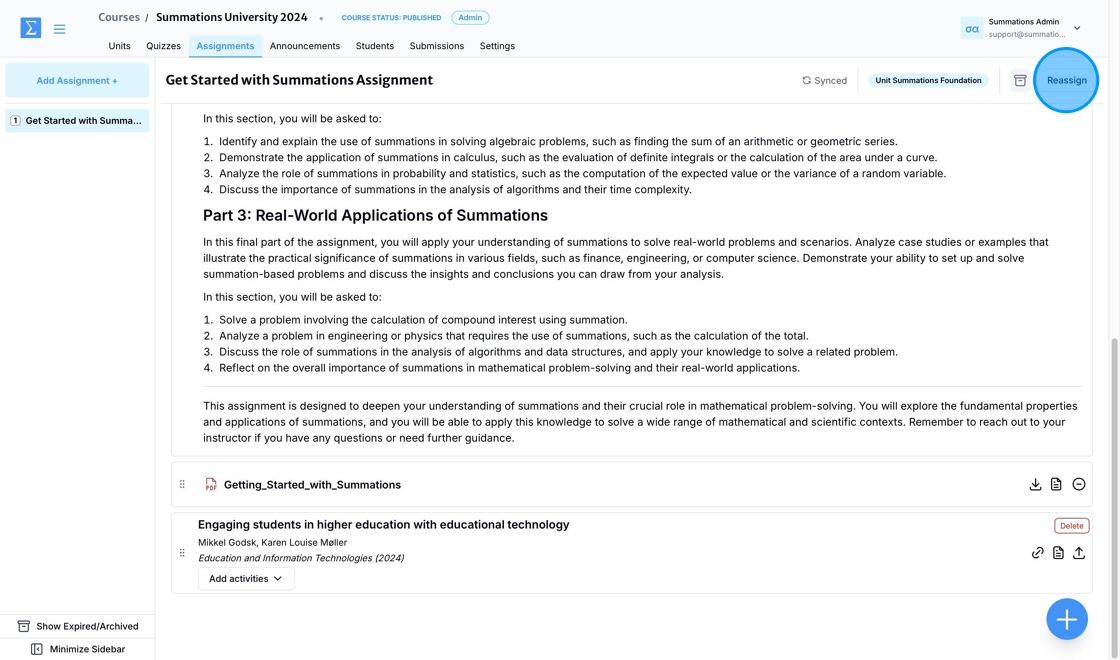
Reassigning an Assignment
If you have unassigned an assignment for editing and now wish to reassign it to your students, click the 'Reassign' button in the top-right corner. Review and edit all details as needed, then click 'Assign' to finalize and make the assignment available to your students.
Allowing Student Resubmissions
In exceptional circumstances, instructors may allow students to resubmit assignments even after the assignment deadline and the late submission period have passed. This feature is designed to accommodate special situations, such as unforeseen personal challenges or technical difficulties, where a professor deems it appropriate to provide an additional opportunity for submission.
To enable a resubmission, first locate the expired assignment by clicking 'Show Expired/Archived' and then scrolling to the expired section to find the assignment.
Click on the 'Expired' button next to the assignment for which you want to enable resubmission. Then, select 'Reassign.' Under the Allow Resubmission section, choose the student(s) you wish to grant resubmission access to. You can also select multiple students simultaneously by clicking the 'Add; button.
Note: Granting resubmission will delete the student's previous submission, if one exists.